Update Name, Description, and Timezone
Set clear metadata and accurate timezone for scheduling and member context.
3 min read
Updated Mar 4, 2026
Before You Start
- Sign in with a community owner or admin account.
- Open the community where you want to update settings.
- Keep your final community name and short description ready.
Step 1: Open General Settings
- Open your community.
- Open your profile menu in the top bar.
- Click `Community Admin`, then open `General settings`.
Step 2: Update Name and Description
- Edit `Community / brand name`.
- Edit `Community description` with one clear sentence.
- Keep the description short (up to 160 characters).
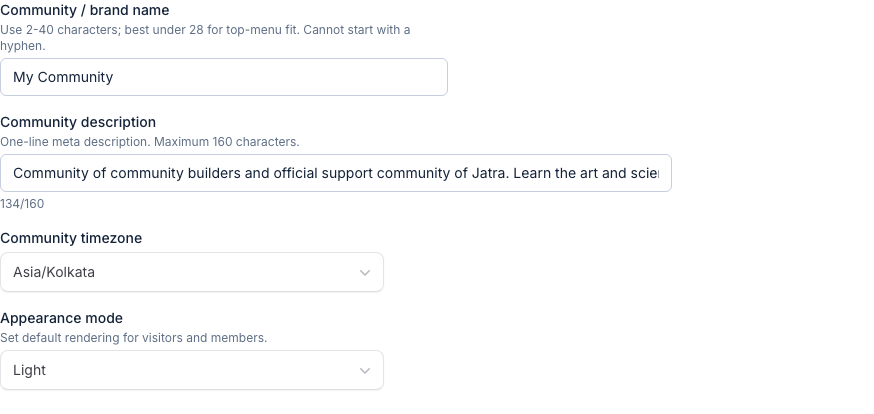
Step 3: Set Community Timezone
- Find the `Community timezone` field.
- Search and select your timezone.
- Use the timezone where your team plans and schedules posts.
Step 4: Save Changes
- Click `Save changes` at the bottom.
- Wait for the success message `General settings updated`.
Troubleshooting
- Save button does not work: check highlighted fields and fix errors first.
- Timezone not found: try searching with city name (for example `Kolkata`, `New York`).
- Description too long: shorten it until the counter is within limit.
Expected Result
Your community name, description, and timezone are updated and used across your community pages.